High-Quality Surfactants for Global Markets - Trusted Manufacturer
do it yourself Surfactant: Your Trump Card for Combining Oil and Water .
(how to make surfactant)
Ever ask yourself exactly how dish soap cuts through grease? Or exactly how shampoo lifts oil from your hair? The hero behind these everyday wonders is a surfactant. These smart particles are molecular intermediators, uniting compounds that normally dislike each other, like oil and water. Making your very own basic surfactant isn’t simply a cool scientific research experiment; it unlocks a globe of recognizing concerning cleaning, individual care, and even commercial processes. Let’s dive into the bubbly world of do it yourself surfactants!
1. What Exactly is a Surfactant? .
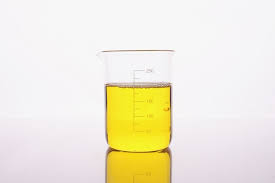
Surfactant is brief for “surface-active agent.” Think about it as a molecule with a split character. One end is hydrophilic– it enjoys water. The various other end is hydrophobic– it fears water and enjoys oil or grease. This double nature offers surfactants their superpower. When you add surfactant to water, the hydrophobic tails attempt to run away the water. They might stick up out of the water surface. Or, they might border little beads of oil, hiding their oil-loving tails inside the droplet and directing their water-loving heads in an outward direction. This develops a solution, blending oil and water with each other. Surfactants additionally lower water’s surface stress. This makes water “wetter,” helping it expanded and penetrate textiles, hair, or surfaces as opposed to beading up. So, in straightforward terms, surfactants are the supreme diplomats and moistening representatives on the planet of molecules.
2. Why Make Your Very Own Surfactant? .
Buying cleaning agent is very easy. So why bother making surfactant yourself? First, it’s unbelievably educational. Seeing the scientific research of surface tension and solutions at work makes chemistry actual. Second, you gain complete control over active ingredients. Lots of commercial cleansers contain severe chemicals, dyes, or strong perfumes. Making your very own lets you pick simple, well-known parts. This is wonderful for delicate skin or certain cleansing requirements. Third, it can be remarkably cost-effective. Standard components like oils and alkalis are commonly low-cost wholesale. 4th, it sparks imagination. Recognizing the core concept lets you experiment. Maybe you desire a gentler hand soap or a specialized cleaner for yard devices. Home made surfactants develop the base. Ultimately, it’s pleasing. There’s a real “aha!” moment when your mixture efficiently emulsifies oil and water. It transforms abstract scientific research into something substantial you produced.
3. How to Make Basic Surfactant at Home (Securely!) .
Let’s make a straightforward, soap-based surfactant– the oldest kind! This is basically cold-process soap making in miniature. Caution: You MUST use safety equipment. Use gloves and eye security. Lye (salt hydroxide) is corrosive and can create severe burns. Work in a well-ventilated area. Maintain vinegar nearby to counteract spills. Never ever add water to lye; always add lye to water slowly. Keep youngsters and pets away.
Active ingredients: .
Fat/Oil: 100g Coconut Oil (develops lots of soap, good cleansing).
Alkali: 13g Salt Hydroxide (Lye) – Need to be 100% lye. .
Water: 30g Pure Water (Tap water minerals can conflict).
Tools: .
Heat-resistant glass or stainless-steel container (for lye option).
An additional container for melting oil.
Kitchen scale (accuracy is vital).
Thermometer.
Stick blender (highly suggested).
Spoon/spatula (silicone or wooden).
Mold and mildews (little containers, silicone mold and mildews).
Rubber Gloves & Safety And Security Glasses.
Steps: .
1. Prepare Lye Solution: Thoroughly evaluate the distilled water in your lye container. Slowly sprinkle the weighed lye crystals into the water. Never reverse this! Mix carefully until dissolved. It will get really hot and release fumes– do not breathe in. Reserve in a refuge to cool down.
2. Melt the Oil: Evaluate the coconut oil. Delicately thaw it in its container utilizing reduced warmth (microwave or stovetop). Let it awesome a little.
3. Get To the Right Temperature: Aim for both lye remedy and melted oil to be around 100-120 ° F( 38-49 ° C ). Utilize your thermostat. Being enclose temperature helps the reaction.
4. Integrate and Blend: Slowly put the lye solution into the thawed oil. Beginning blending immediately with the stick blender or food processor. Blend in short bursts. You’ll see the mixture turn cloudy, after that enlarge. Maintain blending up until you reach “trace.” This looks like slim dessert. When you raise the mixer, the blend should leave a faint trail or “trace” externally for a second prior to sinking back.
5. Pour and Remedy: Pour the mix right into your molds. Tap gently to release air bubbles. Cover freely (an item of cardboard is fine). Protect the molds with towels for 24-hour to maintain warmth in, assisting the reaction complete.
6. Unmold and Treatment: After 24-hour, meticulously unmold your soap. It will certainly still be soft and caustic! Place benches on a rack in an amazing, completely dry, well-ventilated location. Heal them for 4-6 weeks. This enables excess water to vaporize and the saponification (soap-making) response to finish totally, making the soap moderate and tough. Do not make use of before curing! .
7. Use Your Surfactant: After healing, grate a percentage of your soap bar. Liquify it in warm water to create a fluid surfactant service. Evaluate it: Add a drop of oil to some water– it should blend! Add your solution– the oil should emulsify. Success!
4. Surfactant Applications: Greater Than Just Suds .
Your homemade surfactant (soap) is exceptionally flexible. Below’s where it shines:.
Cleaning: This is the timeless use. Dissolve grated soap in hot water for a powerful all-purpose cleaner for counter tops, floorings, and sinks. It cuts oil successfully. Add cleaning soft drink or borax for extra cleansing type laundry (examination on shades first!). It’s excellent for pre-treating spots.
Personal Treatment: Weakened, it makes a mild hand soap or body wash. Incorporate it with oils or glycerin for extra moisturizing. It can be the base for easy hair shampoos (though coconut oil soap can be drying for some hair kinds; adding a bit of olive oil to the dish aids).
Horticulture: A mild soap service is a traditional insecticidal soap. Splash it straight on soft-bodied parasites like aphids and crawler termites. The soap interrupts their cell membrane layers. Always test on a small component of the plant first.
Family pet Treatment: An extremely weaken service can be used for bathing animals (get in touch with your vet first, especially for pet cats). It works for cleansing family pet bed linen.
Industrial Concepts (Comprehending): While your homemade variation is straightforward, the concept ranges massively. Surfactants are important in oil spill remediation (spreading oil), firefighting foams (producing blankets that surround fires), fabric production, paints, chemicals, and even pharmaceuticals. Making your own gives understanding into just how these complex processes begin.
5. Do It Yourself Surfactant Frequently Asked Questions .
Allow’s take on common concerns:.
1. Is homemade surfactant safe for skin? After complete treating (4-6 weeks), yes, for many people. Coconut oil soap is extremely cleaning yet can be drying out. Evaluate a tiny location first. For delicate skin, use much less soap in your service or try a dish with olive oil or various other gentle oils.
2. Can I utilize any type of oil? Various oils alter soaps. Coconut oil makes hard, bubbly soap. Olive oil makes gentle, softer soap. Lard or tallow make very hard, lasting bars. Each requires recalculating the lye quantity making use of a dependable lye calculator online.
3. What happens if I do not have a stick blender or food processor? You can stir by hand. It works however takes much longer– sometimes hours of vigorous mixing to reach trace. A stick blender rates it up to minutes.
4. Why cure for so long? Healing is essential. It permits water to vaporize, making bench harder and longer-lasting. More notably, it makes certain the chemical reaction in between lye and oil is 100% complete. Uncured soap can still consist of energetic lye, which is severe and annoying.
5. Can I include aromas or colors? Yes, but wait! Include important oils or skin-safe scent oils after trace, just before pouring. Never add them to the lye solution. For color, use all-natural clays or micas especially for soap making. Add them at trace.
6. How long does it last? Appropriately cured homemade soap bars can last over a year if saved completely dry. Fluid remedies made by dissolving grated soap must be utilized within a week or more to stop putridity. Including a preservative is advised for liquid soaps.
7. Is it actually reliable? Absolutely! Straightforward soap is one of the oldest and most efficient surfactants recognized. It cleans up grease remarkably well. Its efficiency versus bacteria is moderate; it works by physically eliminating germs as opposed to killing them outright like anti-bacterials.
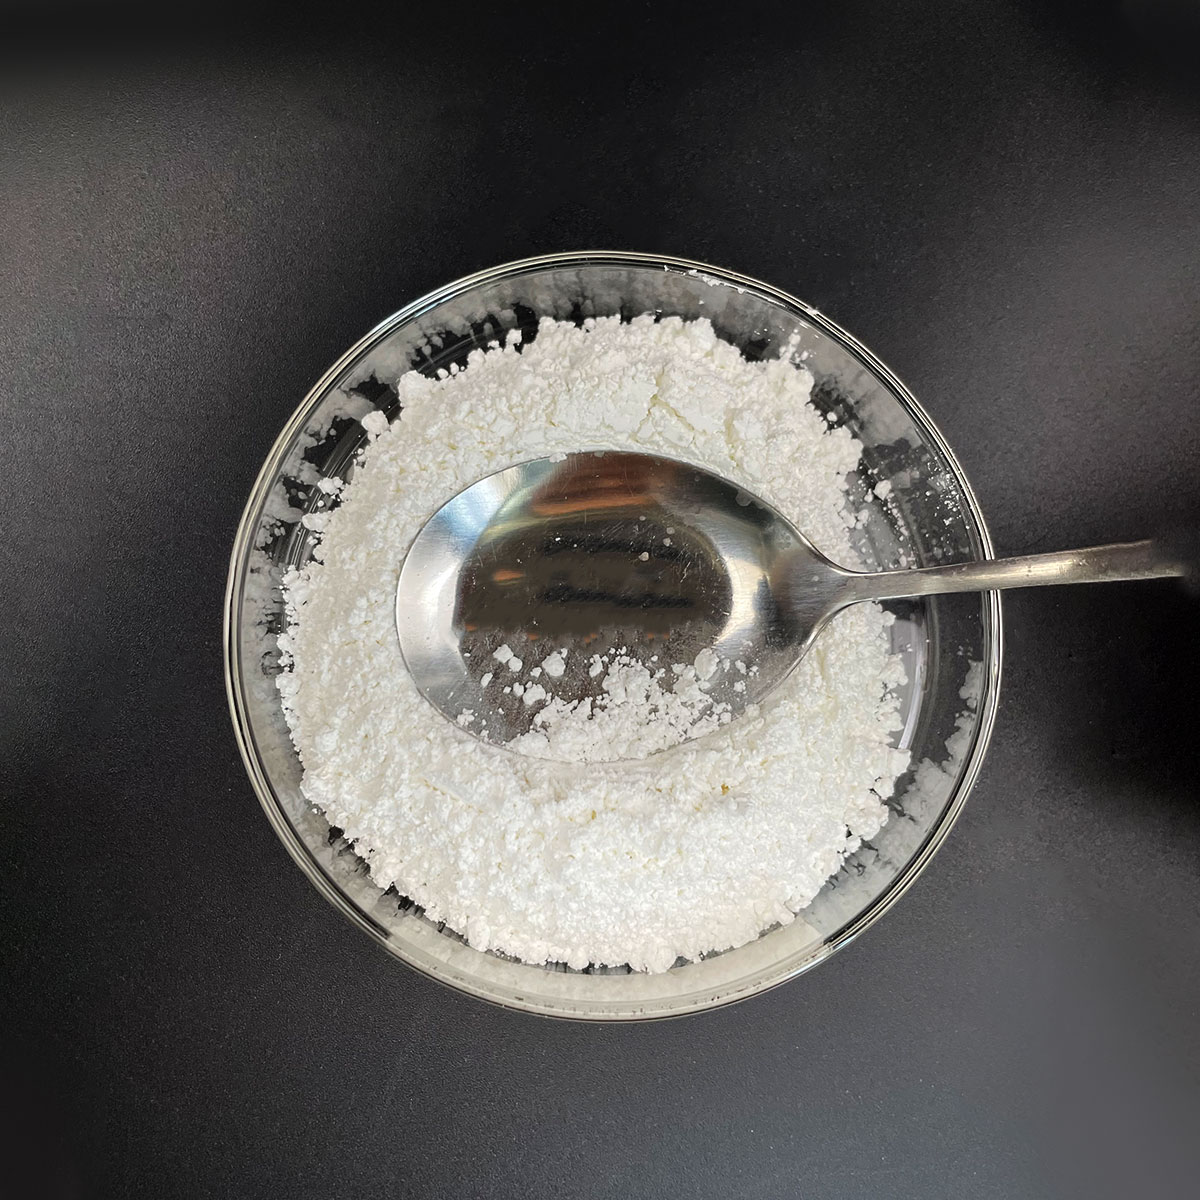
8. What’s the white powder on my healed soap? That’s most likely soda ash. It creates when unsaponified lye responds with carbon dioxide in the air throughout curing. It’s harmless and can be rinsed off. Treatment the soap tightly during the first 24-48 hours can minimize it.
9. Can I use potassium hydroxide rather? Yes! Potassium hydroxide (KOH) makes liquid soap or paste. The process is a little various (usually making use of a hot procedure), and the lye quantity needs recalculating. It’s wonderful for liquid hand soaps or hair shampoos.
(how to make surfactant)
10. Any kind of enjoyable experiments? Try making “Garlic Soap”! Blend a clove of garlic right into your oils before adding lye. Garlic contains all-natural sulfur compounds. The resulting soap has light anti-bacterial properties and a special fragrance– fantastic for garden enthusiasts’ hands!
RELATED POSTS
what is active substance content in surfactants
how does surfactant reduce the surface tension of water in the lungs? quizlet
what type of alveolar cell produces surfactant?

How is Foamed Concrete Used in Construction?

Guide to shipping time from China to the United States
